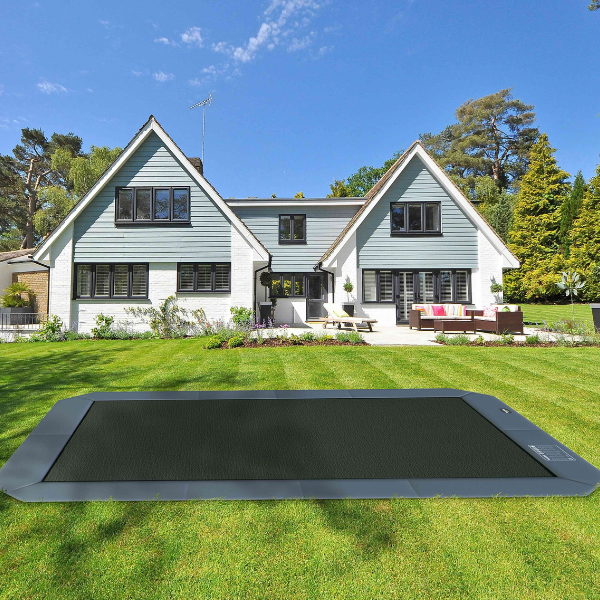
Installing an in-ground trampoline can transform your backyard into a fun, safe, and sleek play space. While the end result looks simple and seamless, the installation process requires careful planning and proper tools.
No matter your level of expertise, having the proper equipment on hand is the difference between a smooth and a frustrating DIY in-ground trampoline installation experience. Learn more about all the essential tools you’ll need for your DIY in-ground trampoline installation.
Why the Right Tools Matter
When you install an in-ground trampoline, you’re essentially building a permanent structure in your yard. The project involves excavation, leveling, assembly, and drainage. Using proper tools ensures:
-
Safety: Reduces the risk of injuries during digging and assembly.
- Efficiency: Cuts down installation time and effort.
-
Durability: Helps ensure your in-ground trampoline stays secure and level for years.
-
Professional results: Achieves a clean, polished look even without a contractor.
Even if you’re renting or borrowing tools, knowing exactly what you need before starting saves you time and prevents costly mistakes.
Basic Hand Tools for Every In-Ground Trampoline Installation
You don’t need a full workshop to get started, but a few reliable hand tools are essential for nearly every step of a DIY in-ground trampoline installation.
1. Measuring Tape
You’ll need to mark the excavation area, ensure the hole’s depth matches your trampoline frame, and confirm the trampoline fits snugly into the space. A 25- to 50-foot tape measure gives you plenty of reach for large trampolines.
2. Shovel and Spade
For smaller trampolines or shallow ground layers, a sturdy shovel or spade works well for digging and moving soil.
3. Level
A 4-foot level ensures your in-ground trampoline sits evenly with the ground. An uneven installation can lead to poor bounce performance and increased frame stress.
4. Wheelbarrow
Excavation generates a lot of dirt. A wheelbarrow helps you move soil efficiently, whether you’re storing it nearby for backfill or removing it from the site.
5. Wrench and Socket Set
You’ll need wrenches and sockets for assembling the trampoline frame and tightening bolts securely. Look for a ratcheting wrench set to make the job faster and easier.
Power Tools for Efficiency and Precision
While many steps can be done manually, power tools speed up the process, especially for larger or deeper installations.
1. Power Drill
A cordless drill makes assembling the trampoline frame much quicker. Use it for pre-drilling holes or tightening bolts in hard-to-reach areas.
2. Soil Compactor or Tamper
Once you dig the trampoline pit, you’ll need to compact the soil at the bottom and around the retaining wall.
3. Saw or Grinder (Optional)
If you need to trim retaining wall panels or adjust drainage pipes, a reciprocating saw or angle grinder can make clean, accurate cuts.
4. Mini Excavator or Power Auger
For larger trampolines (12 ft and up), renting a mini excavator or power auger can save hours of shoveling.
Drainage and Ground Preparation Tools
Drainage is one of the most important steps in a DIY in-ground trampoline installation. Essential drainage tools include:
-
Gravel and sand rake: For leveling the base and distributing gravel evenly.
-
PVC cutter: To cut drainage pipes to size.
-
Shovel or trenching tool: For digging channels for drain lines.
-
Drainage fabric: Helps prevent clogging from soil and debris.
If your yard has heavy clay soil or poor drainage, consider renting a post-hole digger to create a vertical drain pit filled with gravel.
Safety Equipment
Must-have safety equipment for your DIY in-ground trampoline installation include:
-
Work gloves: Protect your hands from blisters, sharp edges, and debris.
-
Safety glasses: Shield your eyes from dust, dirt, or metal fragments.
-
Steel-toe boots: Offer support and protection while digging or lifting.
-
Dust mask or respirator: Helpful if you’re cutting metal or working with fine soil.
-
Ear protection: Important if you’re using power tools or heavy machinery.
Specialized Tools for Challenging Sites
Not all yards are created equal. If your site is rocky, sloped, or uneven, a few specialized tools can make the DIY in-ground trampoline installation process much easier.
-
Laser level or transit level: Perfect for ensuring accuracy on uneven ground.
-
Pickaxe or digging bar: Helps break through tough soil or roots.
-
Ground stakes and string line: Keep your excavation outline perfectly circular and aligned.
-
Landscape fabric pins: Secure drainage fabric in place before adding gravel.
Frequently Asked Questions
1. What basic tools do I need for an in-ground trampoline installation?
You’ll need a shovel, level, measuring tape, wheelbarrow, wrench set, and power drill. These cover the basics for excavation, assembly, and setup.
2. Are power tools necessary for installation?
They’re not strictly required, but they make the process faster and more efficient—especially if you’re dealing with hard soil or a large trampoline.
3. Do I need any safety equipment?
Yes. Gloves, safety glasses, sturdy boots, and a dust mask are essential to protect yourself during digging and assembly.
4. What specialized tools might I need for larger or uneven sites?
For uneven ground, consider a laser level, digging bar, or mini excavator to ensure accurate and safe installation.
5. Do I need tools for drainage installation?
Yes. A shovel, rake, PVC cutter, and drainage fabric are key to creating a proper drainage system that prevents water buildup under your trampoline.
Installing an in-ground trampoline is an exciting DIY project that adds lasting value to your backyard. With the right tools and preparation, you can confidently handle every step—from digging the pit to setting up the frame and drainage.
A well-equipped toolkit doesn’t just make installation easier—it ensures your trampoline is safe, stable, and built to last. So before you start digging, take time to gather your essentials, plan your workflow, and approach the project with patience and precision. With the right tools in hand, your DIY in-ground trampoline installation will be a rewarding success for the whole family.

